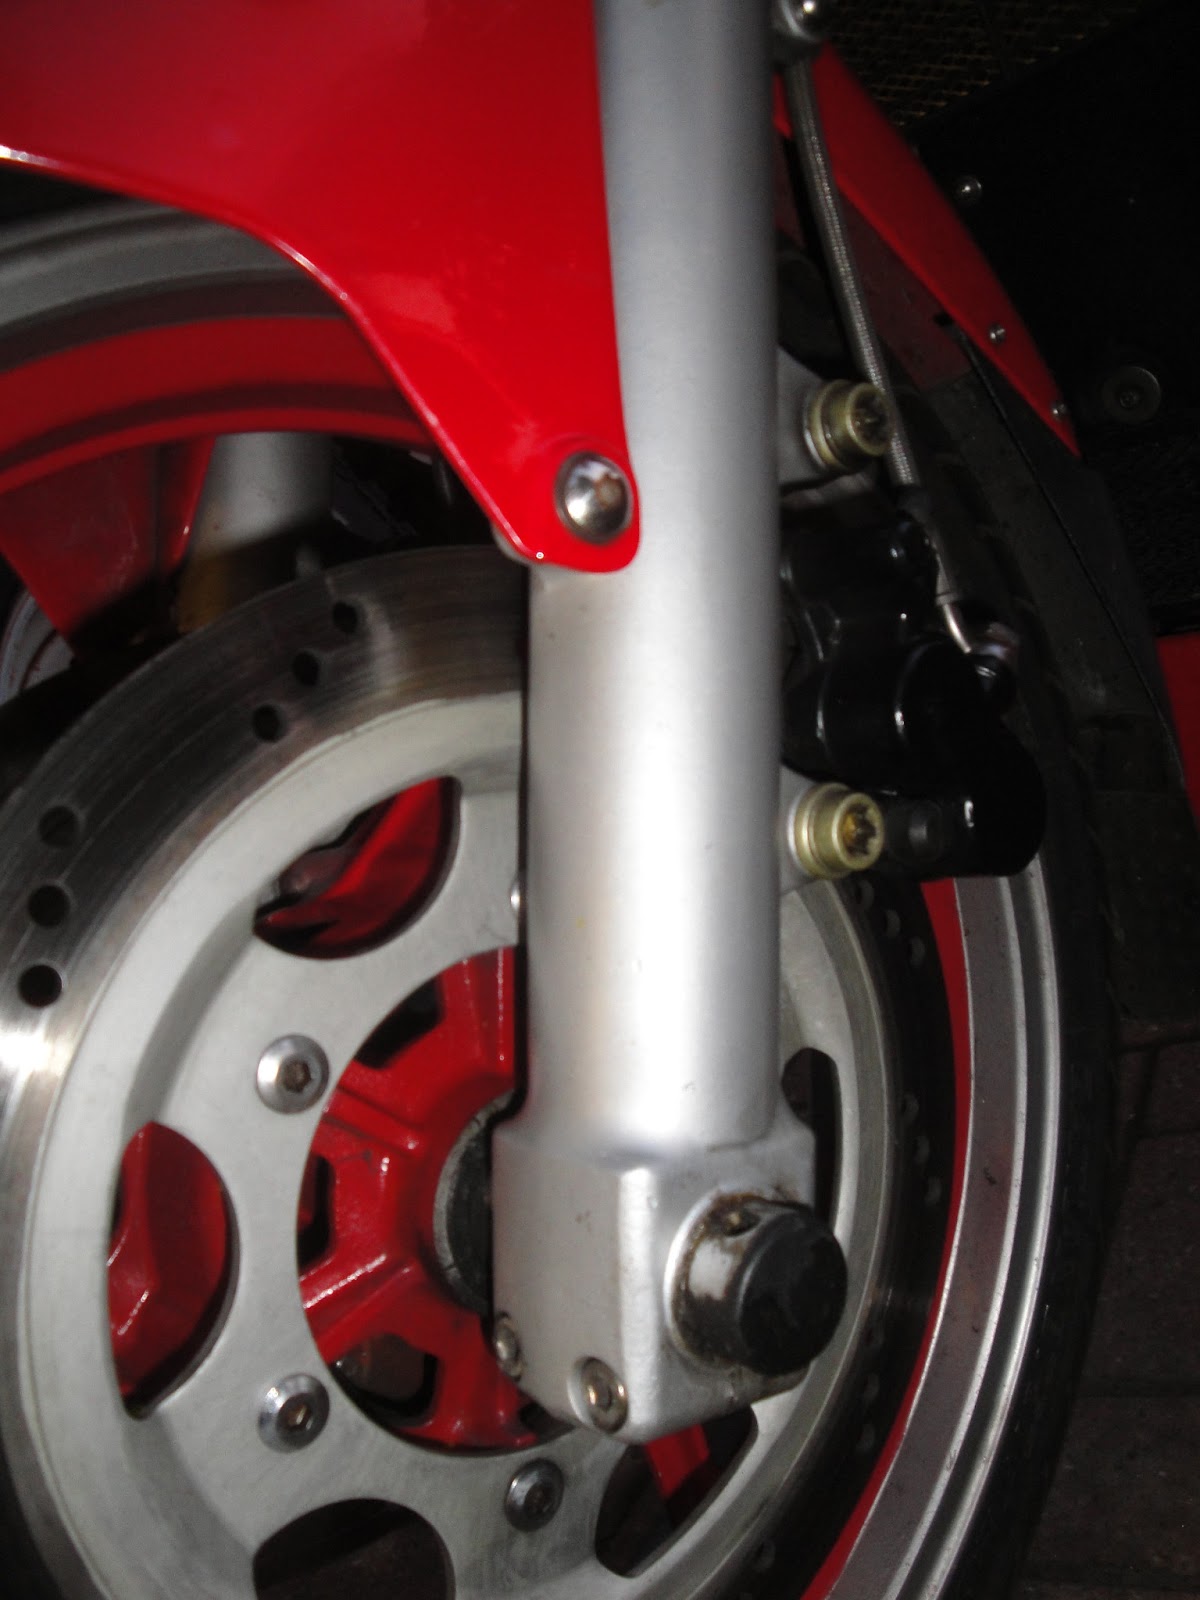
I've made a number of changes to my Trophy 1200 as part of refurbishing it. I've wanted to keep them all modest and reversible because
for me this is a significant bike and I feel committed to honouring the engineering integrity of the bike as the designers created it. I think all of the changes shown on this page have been described in previous posts but I thought it would be nice to see them all in one place.
1. The wheels were painted with red centres when I acquired the bike - I liked the look very much though the original finish would have been all silver.
So I repainted them in the same non-standard scheme. The quality of the paint I used isn't great, having chipped off with road use. I want to get them powder coated at some point.
2.
My original silencers rotted through on the RHS so I needed replacements. I had some stainless Viper pipes that went straight on. They are well made, considerably lighter than the originals and acceptably silenced (I have fitted them with the restrictors supplied by Motad, who manufacture them).
3. I have fitted Scott Oilers to my bikes for years. I made up an aluminium bracket to direct its oil delivery tube to the chain rollers, just in front of the rear sprocket.
4. The thrust delivered by the first generation 1200 is considerable. I fitted a one tooth larger front sprocket (19 rather than 18 teeth) and a smaller rear sprocket (42 rather than the 45 teeth fitted when I got the bike). The means the bike revs lower in top gear. In top gear, it is doing about 4000rpm at 70mph - just coming on cam. I'm in two minds about this. For roll-on overtaking, 65mph would be better.
Note: I've recently changed this by keeping the 19 tooth front sprocket but refitting the 45 tooth sprocket
for a big trip to Yorkshire and like the result - 4000rpm at 65mph in top gear.
5. I've always enjoyed a bit of metal polishing.
So although I painted the rear of the footrest hangers, I left the front portions bare - they come up lovely with Autosol Solvol.
6. Venhill stainless braided hoses with stainless fittings for front and rear brakes and the hydraulic clutch. I didn't trust the original rubber hoses any more and wanted to keep the original front calipers. So stainless hoses were an obvious modification to make. I'm a big fan of stainless steel and don't need much excuse to lavish it on my bikes.
7. Stainless fixings for rear brake torque arm and mudguard retainers - they get a lot of weather here and my mild steel originals were too badly corroded to reuse.
8. Only just visible here but stainless overbraiding for coolant hoses. They amount of naked rubber on view didn't appeal to me too much so I decided to get a braiding kit. I'm pleased with the results, though they were fiddly to fit and I made up my own finishers from hose clips and some spare thin stainless sheet I've had for ages.
9. The fairing inner panels are retained by chemically blacked flanged screws as standard. Well, few were left on my bike - quite a number bodged with plastic number plate bolts. I found some stainless flanged Allen headed screws which worked with new replacement genuine retaining clips. I am very pleased with this small mod.
10. Not sure it's a mod - more of a repair really. A car clock was fitted into the right-hand fairing inner trim, a previous owner having cut a circle out to accommodate it. The clock was not waterproof and had failed. Triumph made an official kit to do this later on which came with a replacement inner with a moulded hole to accept a robust waterproof digital clock. I'd like to fit one of these eventually but in the mean time, I made up a simple aluminium cover to clamp over the hole.


11.
Digital oil pressure and oil temperature gauges. The temp gauge has been great. The pressure gauge has been rubbish - same manufacturer, pot luck I guess.
12.
Replacement fork springs from Sprint Manufacturing, 20 per cent stiffer than stock. This is a very functional mod. After 21 years, the stock springs were inevitably rather tired. I took a chance on stiffer than standard because I like a firm ride and it is a heavy bike. I'm happy with this modification, after having
experimented with different lengths of spacer to adjust the
preload on the springs. I'm pretty sure the springs and spacers I removed were not stock so it is hard to compare them.
13. Forks pulled through 30mm more than stock. The stiffer springs made the bike sit up considerably - as might be expected. A 30mm pull-through gives the bike as an even aspect when viewed from the side on the stand, and more importantly it feels like the right amount of lean forward for me when in motion.
14.
Meriden Triumph Trophy patent badge. This is purely cosmetic, though it does protect the yoke from my key fob. Later Hinckley Triumphs have a very similar plaque just here.
15. Fender extender plus additional mud flap. Amazingly functional, possibly anticosmetic (beauty lies in the eye of the beholder), but my oil cooler was in a shocking state and these keep the muck and spray off it it. So I'm happy. I also fitted a mud flap in front of the rear wheel to protect the shock linkages.
16. Stainless M8 axle clamp bolts. Down at this level, all fasteners lead a very hard life. Stainless steel just shrugs it off. MUST be fitted with copper grease of they will seize in the aluminium.
17. Ferodo sintered brake pads and
stainless brake pistons in rear brake caliper. Brake pad material has come on amazingly in the last 20 years. These pads work well and are kind to the original stainless steel discs. They squeal at low speed but have great bite and make the low-spec brakes more than acceptable.
18. Stainless steel fixings for the fairing lowers and oil cooler mounts. All the fixings at this level were in terrible condition - beyond rescue. Again, parts of the bike at this level lead a very harsh life. The replacements are a mix of stainless steel self-tapping screws with stainless plain washers, and M6 socket-headed screws with penny washers.
19. Painted large Torx bolts. I reused as many of the original fixings as possible. I probably should have had them galvanized. I might yet do this.
20. Car horns, running through an electrical relay. The original horns were in a bad way with rust. In any case, I believe in having VERY LOUD horns. I normally fit air horns to my bikes. This time I decided to try a pair of these FIAMM-like snail horns. They are very satisfying. And yes, loud.
They draw a lot of current so need a relay - the standard switch is not adequate.
21. Later, larger radiator.
This is another mod I'm not sure was necessary. I've still got the original and may refit it in the future. The fan has been coming on a lot in the recent hot weather after a steep climb at town speeds. And it does its job. I was worried about the fan cutting in at first - now I just think that's what its for. I've fitted an additional water temperature monitor for a while (since removed) and the coolant never got near to dangerously hot. The fan sorts it out. I don't do many town miles so I think the larger radiator simply is not necessary for me. If my experiments with the later 1200 motor go well, I'll probably use it for that project, destined for the Daytona.
22. Additional aluminium mesh fitted behind later plastic radiator guard. The original guard is a steel mesh. The plastic guard looks insubstantial by comparison.
23. Stainless button-headed fairing upper fixings. The original fixings have large, chromed mushroom head socket screws with a plain section that protects the polyurethane panels and M6 threads that locate behind. The size of the socket is small and easily rounded out, for all that they should not be tighted up too much, and are rust prone. I could only save two of these in my set.
24. Stainless button-head M6 machine screws for upper mudguard mountings/brake hose retaining bracket. The rear of these get all the muck inside the mudguard and can seize.
25. Red Triumph patent badges - glued onto the fairing lowers by a previous owner with some kind of space super glue. Actually, I really like them.
26. Purely an anachronistic indulgence - a Meriden 'Made in England' decal so familiar on the older Triumphs.
27. Gel battery (not pictured). Not sure if it counts as a modification. Just trying to be comprehensive.
28. Later mirrors - these were fitted to the bike when I bought it. They do work reasonably well, staying clear at speed and don't fold in. However, the mounting studs are a bit short compared to the original round ones (as were fitted to my Daytona) and half the mirror is occupied by my elbows. I am 6'3" so maybe shorter riders wouldn't have that problem (just falling off a lot).
I can't think of anything else for now.