My Daytona has been remarkably robust against the rigours of
year-round biking but was overdue for a bit of TLC. Although the headers
are supposedly stainless steel, they had a black-chrome overlay from
the factory. The 1994 Daytona's exhaust system is three-into-two-into-one-into-two and is in five parts: three-into-two header, two central link sections that join beneath the sump, and two silencers.
The finish of the headers and central link sections had suffered pretty badly over the 71000 miles and 18 years. It was actually fine close to the exhaust ports, where the radiator has shielded it from the weather. Beneath the line of the oil cooler, the headers get a torrid time with road muck and spray blasting at them from the front wheel.
 |
| Stainless headers? Doesn't look like it here |
My Trophy's exhaust is clearly stainless and had responded well to a rough polish with a brass wire brush on my drill. I remember they had a reddish brown deposit in places, especially around the link pipe that runs under the engine. It looked like rust but it came right off with the drill brush treatment, leaving a shiny silver finish. I hoped I might get a similar effect on my Daytona so got busy. It wasn't anywhere near as satisfying this time. It appeared as though the plated finish had been mainly corroded away, leaving a rough surface over most of the forward downpipes and the two collectors.
To shift some of this, I had to use an angle grinder with a steel wire brush. This combination made good progress - not perfect but the metal work so revealed was perfectly sound and maybe could qualify as stainless steel.
 |
| Exhaust downpipes and central collector after angle grinder treatment |
I had previously refurbished my Daytona's silencer link pipes with VHT
black topped off with VHT clear and was very pleased with the result. It
looks a lot like the original black chrome finish and had come through
last winter intact. The finish I obtained is obviously nowhere near as
hard as chrome but it does seem to be reasonably robust so far. I had some VHT clear left over from another job. I would
have used VHT black again but didn't have any left.
I'd read somewhere online that barbecue paint can work if it is cured properly so decided I'd give it a whirl - seven pounds from HomeBase on a 15% off weekend. The VHT clear might help to keep it in place. If it doesn't work, I'll try something else. As it happens, my home painting efforts on the Trophy haven't been a great success. Maybe I'll get lucky this time.
 |
| Headers coated with BBQ paint |
Before applying the VHT clear over the barbecue paint, I wanted to make sure the thinners were gone and the black coating was at least partially cured. So I used my hot air gun on its low setting to heat up the pipes from the inside. I blew air in through each of the five openings (three headers, two silencer exits) in succession, switching each one as soon as I saw smoke coming off of the pipe concerned. I went around each one twice and then left it to cool for an hour.
 |
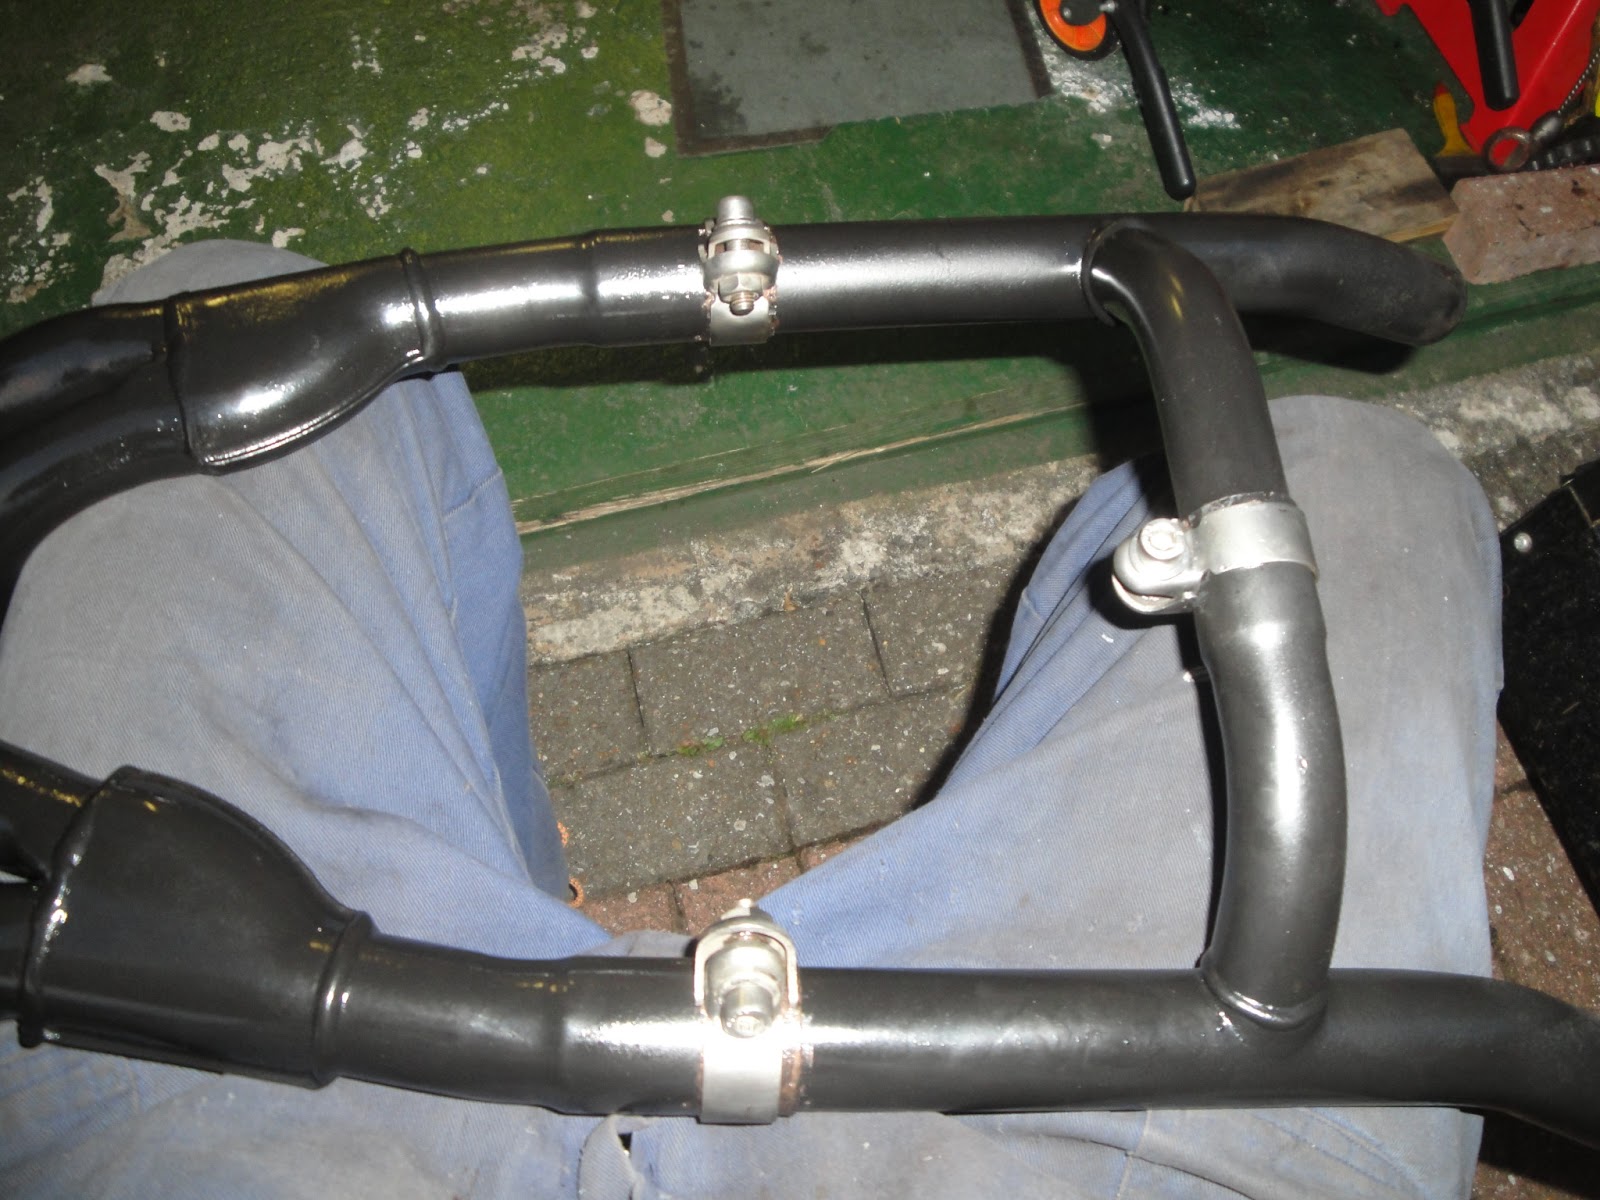
| Refinished headers: will they cope with the heat of normal running? And winter salt? |
I painted the VHT clear over the BBQ paint by applying just enough to get a shine first pass and then immediately going over the whole thing for a second time. I made sure I got plenty around the collectors. Then I left it 24hours before using my heat gun again in the same way as with the BBQ black. After cooling again, I reinstalled the three M6 bolts that blank off sensor holes with copper grease, torquing to 10NM per the factory manual.
 |
| Three exhaust pipe sections back together with stainless clamps |
The exhaust pipes are in three sections held together with stainless steel clamps. These clamps came up beautifully. I used a smear of copper grease around the joints of the header sections and inside the clamps to help it all go back together with minimum fuss.
I'm almost too pleased with the way the whole thing has come up. I might try to make up a shield for the headers to stop direct spray from the front wheel blasting them next winter.


 In the end I had to resort to a wire brushes and a rotary ginding wheel on a drill and minigrinder (cheap Dremel clone). It took hours. I wouldn't do it again - taking it to a blaster would have been the smart thing to do. Oh well.


 After the first coat of red, I could see that the dark grey areas were not covering over very well. I had a tin of VHT Black so I gave the cover a blow over with that as an even colour - like a primer - to work with and then started again with the red. This time, the red enamel was covering evenly. I built up the coverage in thin layers, each time using a hot air drier to partially cure the paint as I went.