A good power feed means making sure the wiring delivers a real 12 volts at the bulb terminals. It also means having a reliable earth. The early Trophy has a single halogen H4 headlight that takes its power via the right-hand switch cluster. Daytonas have twin H4s that take their power via relays from a separate feed. There is a chance that the circuitous route taken by the power might mean a voltage drop. I checked the voltage at the terminals and it was around 10.5 volts whereas the battery was showing a clear 12.4 volts across its terminals. A bit of a drop is normal - this is too much so I was sure I needed to do something about it.
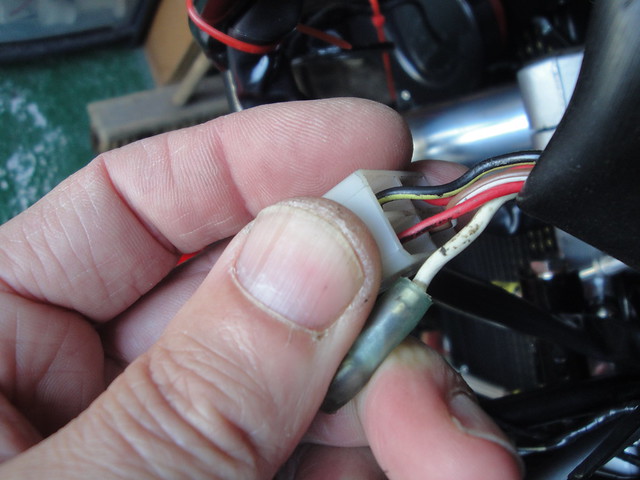
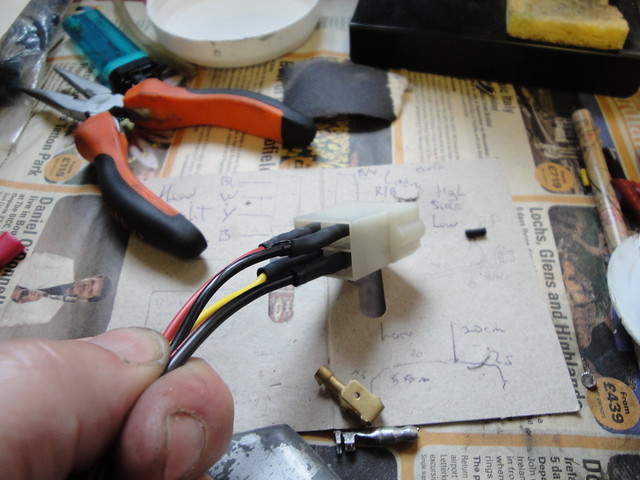
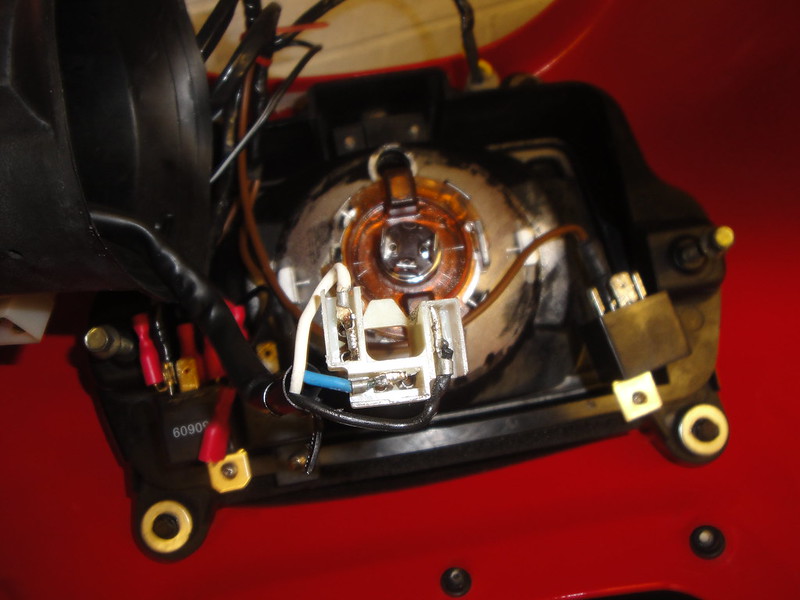
A close look at the loom wiring to the headlight block connector suggested to me that the wire was a bit on the thin side. The picture above shows four wires in the connector: brown-white is the feed for the side light, red-black for the high-beam, red-yellow for low beam, and black-yellow for earth. The thinner the wire, the higher the resistance and hence the higher the voltage drop. The comparison of the separate feed (white wire) made this difference particularly noticeable.
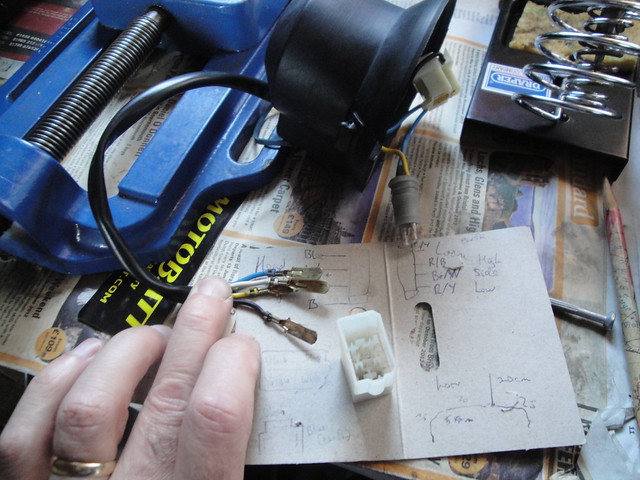
The headlight connects to the loom via a small harness. Rather strangely, in my view, the colour coding in this little harness is completely different to the scheme for the main loom. Its four wires were blue for earth, yellow for side light, black for high beam and white for low beam. On the plus side, the wires themselves were quite a bit thicker than those in the main loom.
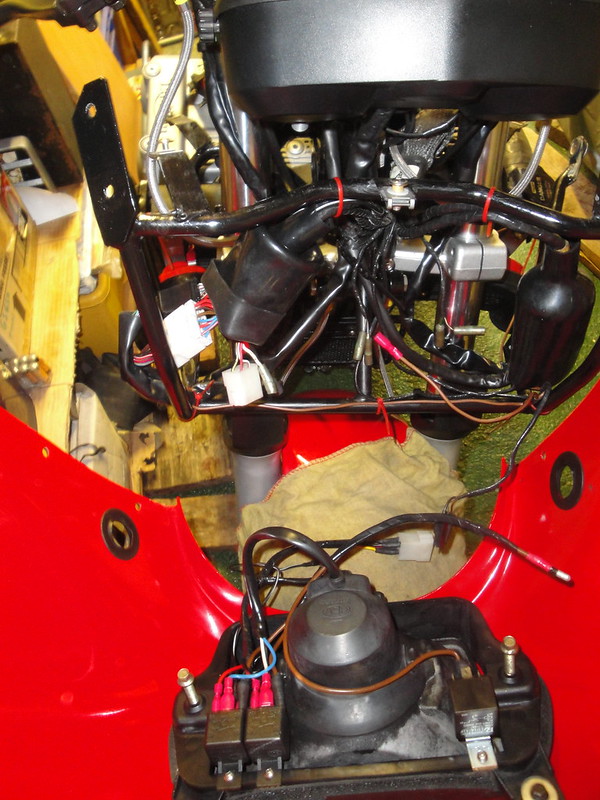
Having loosely fitted the cockpit fairing, I could see there was sufficient space to fit some relays in the same way as the Daytona headlight. I could make sure the horns also benefitted from max voltage at the same time by feeding them from a relay. The horns work by earthing through the horn switch in the left-hand switch gear. I'd fitted car horns which draw more current than the original bike horns, for the benefit of being REALLY LOUD. I discovered that they worked perfectly well individually, but would not produce a note when both were wired on. I think they were giving the horn switch a very hard time. I could use the heavy gauge feed for all three relays. So that's what I did.
I extracted the terminals from the H4 and loom block connectors and cut the wires ready for splicing in new wires to lead from the loom to the relay switch terminals, and from the relay power feed back to the headlight. I had some wires of near the right colours in my spares box.
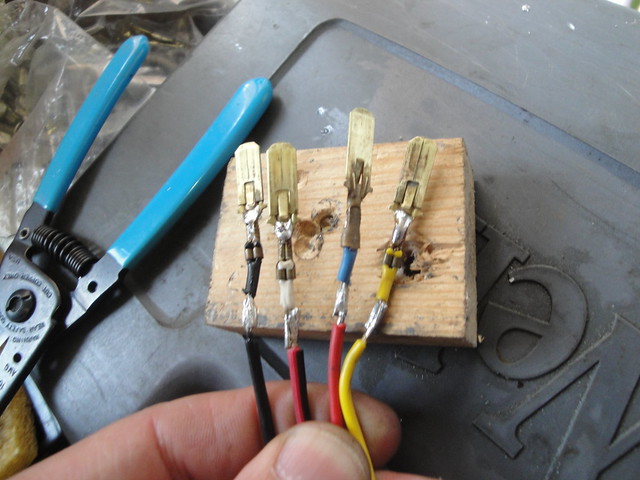
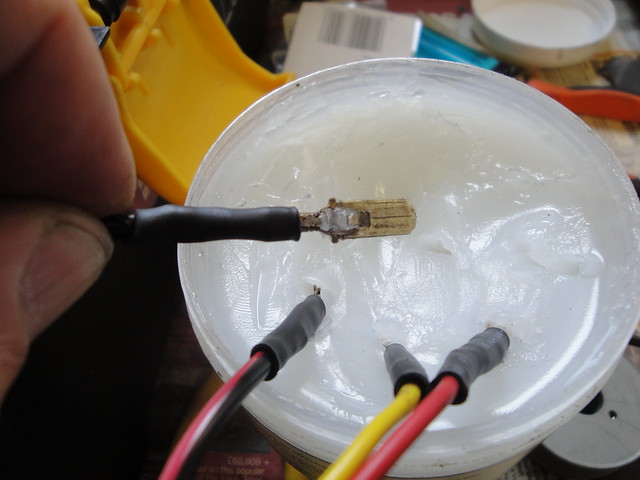
After soldering and insulating with heat-shrinking tube, I coated the terminals in petroleum jelly and refitted them into the block connector.
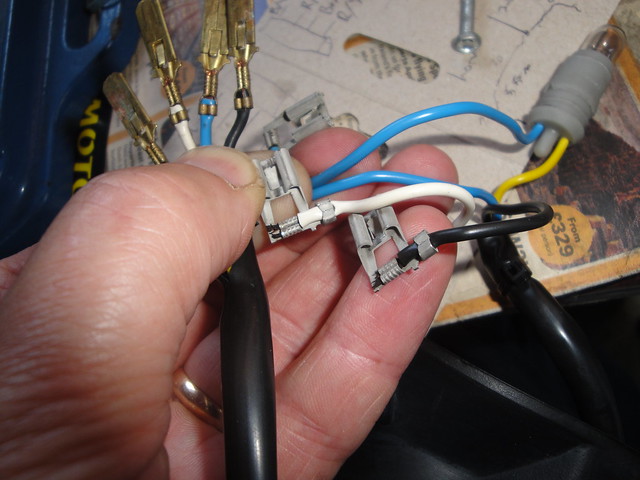
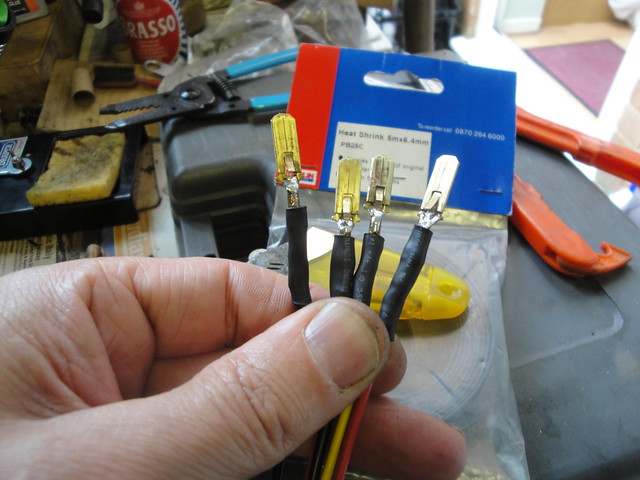
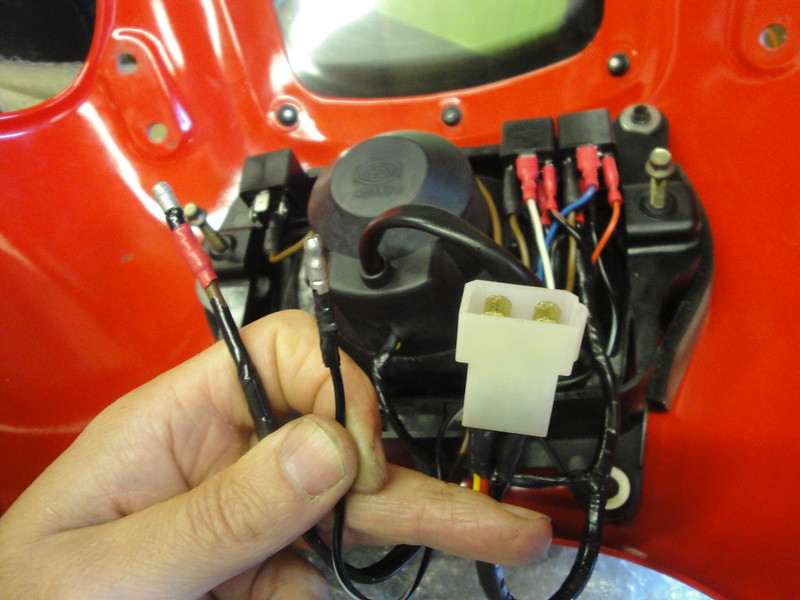
Making up the power feed and earth was straight forward, using new insulated female crimp spade connectors. I tinned the ends of the wires first to help seal out moisture and get a firmer connection with the wire crimpers. For the power feed, I used thick brown wire with a male bullet on one end to couple with the white feed, and soldered in three branches to it as feeds for the three relays (horn, high beam and low beam). For the earth, I made up a similar wire with two branches. I made up a new frame earth because I wasn't sure the gauge of the earth in the block connector was adequate for the load. The picture below shows how it all came together:
At my MOT, the tester pointed out that my dip beam was very yellow compared to the main beam. I'd installed a xenon H4 bulb, which should have a blue tinge to it so something wasn't right. He suggested I check to make sure that the bulb was earthed on the correct pin. The rear of an H4 bulb has its three terminals (high-beam feed, low-beam feed, and earth) arranged in a horse shoe. The earth should be on the left terminal, low-beam at the top terminal, and high-beam terminal on the right. Sure enough, when I checked I'd messed up the earth position in the H4 connector. Still, I knew my way around the wiring by then so released the black and white wires, swapped them over and all was good.
3 comments:
Confused here. I'd say that wiring layout is wrong for an H4 bulb - I think it should be earth (left), low beam (top), high beam (right) when looking at the back of the connector and going clockwise from 9 o'clock.
Are you sure this is how you've wired yours up?
You are absolutely right. I've changed the text accordingly: earth on the left, high on the right, low on the top terminal. Cheers
This is a great idea; improving headlight performance can make such a difference.
Post a Comment