Showing posts with label Sprint Manufacturing. Show all posts

Friday, May 24, 2013

New PVL twin outlet coils

I dropped by Sprint yesterday for some new ignition coils. When hot, the bike had been stalling at traffic lights, idling very unevenly after a run. The bike ran perfectly well for the first five miles or so. But then things would deteriorate so the stalling was definitely related to how warm the engine was, or else how long it had been working. The problem had been coming on earlier and earlier over the past week so I decided I wouldn't risk it becoming a permanent feature.

I was convinced it wasn't a fueling problem, after all the work I'd done on the tank, and the carbs, and the fuel pipes ... ! Starting from cold was OK - firing after maybe four or five spins of the engine on the starter.That's why I thought it was time to revisit the ignition system to look for an explanation. I'd previously had a problem with my Daytona cutting out when warm and that was due to electrical breakdown of the ignition pickup coil when the engine was hot. It had always started perfectly from cold and, after cutting out, would re-start from cold. In that case though, it was total failure with the engine stopping completely while riding at normal speeds.

With my Trophy, it was different because it would run reasonably well at normal speeds though would cough occasionally accelerating from low revs. I'd read about similar problems on some internet forums. They pointed to failing ignition coils as the potential cause.

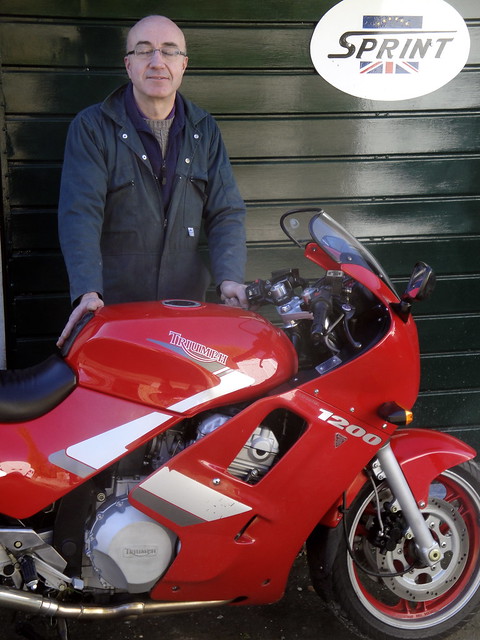
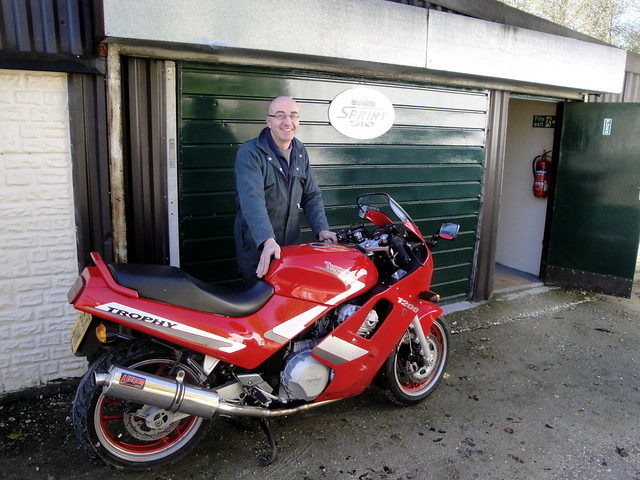
On my Trophy, these are a pair of twin-outlet resin-encapsulated units manufactured by PVL in Germany. The PVL coils on my bike were the originals. I know because PVL stamp the production date just above the low-tension connections on their coils. Mine read 0491 - April 1991.


So that means they are 22 years and one month old. That's old enough to justify retiring them. The coils I bought from Sprint were marked 1112 and 0313 - November 2012 and March 2013. I was somehow amazed to see that their construction appeared to be identical in every way to the originals - same cases, same potting, same terminals.The only difference is the white print on the body, with the code 356 100. The PVL website lists that code as "High performance double Ignition Coil 2/4-cylinder Triumph, BMW", 1.1Ohm primary winding, secondary 7,66kOhm. My old analogue multimeter sort of agreed with this, given that the needle waves about quite a lot without ever seeming to settle. I noticed that the secondary windings on the old coils were reading about 10kOhm - higher than the new ones anyway. This measurement doesn't mean much though because the bike was cold when I measured the resistances and the problem only surfaces when hot.
I smiled to see 'Made in W Germany' still moulded into the plastic cases. It was hard to believe so much time could have passed with absolutely no evidence of design change. Of course, changes could be hidden inside.

I've been for one ten-mile run with the new coils so far and already the difference is noticeable. No more coughing on the throttle at low revs. Whilst idling on its centre stand after the ride, I got the bike hot enough or the fan to cut in. Whereas it would have been stumbling badly yesterday, there was just a hit of lumpiness. I was able to turn the idle speed right down to an indicated 500 rpm without the bike stalling. I must have left it running like that for a minute just to see before turning it back up to its regular 1000 rpm idle speed.

Friday, November 2, 2012

A Trip to Trevor

I took advantage of the slightly less appalling weather today to visit Sprint Manufacturing at Upton Lovell in Wiltshire. Although the air temperature is pretty low now, with the damp taking effect, it was a nice run out. The sun lit up the gold and russets in the trees along with the remaining green leaves along the way.
Trevor is the Chief at Sprint Manufacturing. His premises are well off the beaten track, business being overwhelmingly made up of web and telephone mail order. It's not a big trip for me to get there in person though and a nice ride to boot. I found him in the midst of applying a gel coat to a hugger he was making for an Australian customer. A top quality job, needless to say. He told me the classic fairings side of his business are popular in Japan, to the tune of an order a week in the summer.
Anyway, Trevor has helped me out on many occasions, supplying good advice, good parts and good humour at all the right times. Several times on previous visits, I'd said I'd bring my 1200 for him to see when it was finished. I'm sure he's seen dozens of the things before so it was more of an excuse for me to get out and seek approval from the master than a case of me showing him something new.
So I set the bike up on its centre stand, started the motor and asked him what he thought. Here he is, focusing his full force of his mystical powers to commune with the inner workings of a T300 in action:

A visit to Sprint Manufacturing 2

He was impressed with the quietness of the motor compared with others of its ilk. He told me the early die-cast cases (with access hatch for sprag and alternator drive gears) are noticeably quieter than the later Cosworth pressure sandcast cases. I forgot to say that the 1991 bikes have foam-lined fairing panels too, dampening the sound further. And the result. Well, was it in doubt? I think it met with his approval.

A visit to Sprint Manufacturing 1

The bike had run beautifully all the way there. Irritatingly, I had more fueling problems on the way home. Maybe the bike was sad to have had to leave the cosseting world of Sprint. But seriously, I think I've got four issues to deal with, two of which are probably self-inflicted. 1/ The loose sheets of liner are wrapping themselves around the fuel tap's integral filter 2/ the fuel tap prime position isn't passing any fuel, 3/ the angle of the extended fuel pipes and filters I fitted seems to be causing at least one hose to fold. 4/ The extended pipes are also putting pressure on the vacuum pipe to the rear of the fuel tap. So I shall address all these issues before taking her out on the road again.

Thursday, July 5, 2012

Pitted fork repair, Sprint Manufacturing 20% uprated springs, and front wheel refit

With the forks removed, I could see how much pitting was present on the stanchions - a lot, as it happens, although each individual pit was pretty small, maybe up to 1mm across.


I decided to try filling them with Chemical Metal epoxy paste on the grounds that, well, it just might work. If not, I'll get them reground and hard chromed. So I degreased them with cellulose thinners and dug as much of the dirt out of the pits as I could with a pin, wiping as i went. Then I mixed up the Chemical Metal a bit at a time and covered the affected areas. It goes off very quickly (about 5 mins) so I had to repeat the process lots of times. 

After leaving it to cure completely overnight, I trimmed back the excess filler with a sharp blade and rubbed the stanchions down with 800 grade wet and dry paper. The finish was smooth and reasonable. I've no idea how robust it will be. 


I'd decided to fit some 20% stiffer replacement fork springs from Sprint Manufacturing. I carefully measured lengths as I went. First, the difference between fully compressed and fully extended is about 145mm. Second, the standard spacer is 110mm. 


The springs I removed were 470mm in length (the shorter, darker spring in the picture below). I would say the 'standard springs', which I believe them to be, but who knows whether a previous owner changed them. The Spring Manufacturing springs were about 490mm in length. I could have cut the spacer down accordingly (to 90mm) but decided I would treat it as an additional 20mm preload to start with and then shorten if required later on. This meant being very careful in compressing the springs to refit the top nut but they went together well.

I decided to try comparing the spring rates. No pics I'm afraid but I did this by placing an old kitchen scales upside down on each of the springs and then compressing them for 1cm. I was surprised to find that the Sprint springs were about 6kg per cm whereas the ones I removed were 6.5kg per cm. In other words, harder. So maybe they aren't the originals. However, the Sprint springs have two pitches  whereas the springs I removed were evenly wound along their entire length. The manual indicates that the originals should be twin rate. I decided I'd try to see what the rate of the Sprint springs are when the close-wound section binds. I did this by clamping the spring in my workmate just above the close-wound section and repeating the scales trick. This time, it showed a rate of 7kg per cm, so about 17% stiffer by my imprecise measurements - close enough to Sprint's claim for me to believe all is in order.


 Forks reassembled, I decided to fit a pair of stone guards. The clamp just above the dust seals. Hopefully, they'll help to keep the Chemical Metal repair functional for a little while at least.


I decided to pull the forks through the yokes slightly more than standard because the stiffer springs would make the bike ride slightly higher than normal, marginally slowing the steering geometry. Again, it's an experiment. The fact that I now know the difference between full extension and compression means I can adjust the down some more as long as I leave at least 145mm between the bottom yoke and fork seals.


I found that the front wheel axel was rusted internally. There is a plastic bung on the left hand end that had been damaged, allowing water ingress. So I cleaned it up with a drill and thin wire brush, primed and painted it before coating the bung in waxoil and refitting. I also gave the front axel nut a birthday.


 I like polishing. The fork top nuts and speedo gearbox gave me a chance to break out the Solvol and bling it up :-)


 Plenty of LM grease on the axel and the wheel is back in place. The axel can be held still with a tommy bar through the left hand end whilst the nut is pinched up. There was zero clearance between the fork legs and the wheel spacer (left) and speedo gearbox (right) so it was a performance getting the wheel in place. I managed it in the end by slackening the fork clamp bolts in the lower yoke and slightly twisting the sliders.

For torquing the axel up, it is necessary to tighten two clamp bolts in the left-hand fork leg so the axel doesn't rotate. The two clamp bolts in the right-hand leg can then be torqued too.


 Handlebars and clocks loose fitted, starting to look like a bike again.