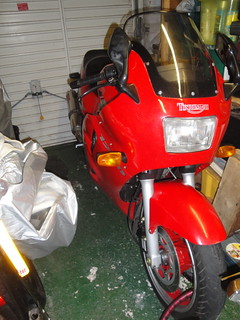
Having sorted out the rear suspension some weeks ago, and been doing stuff in the middle of the machine more recently, it was time for me to do something with the front end.


The
World of Triumph parts website for the mark one Trophy is great for exploded diagrams. I've put links in to them in some of my earlier posts without saying much about their utility for the amateur spannerman, such as myself. I think it's a fantastic resource, not only for seeing how things are supposed to go together but also it normally lists sizes of the fasteners as well. So it's easy to find replacements for those that are beyond the pale. However, mysteriously,
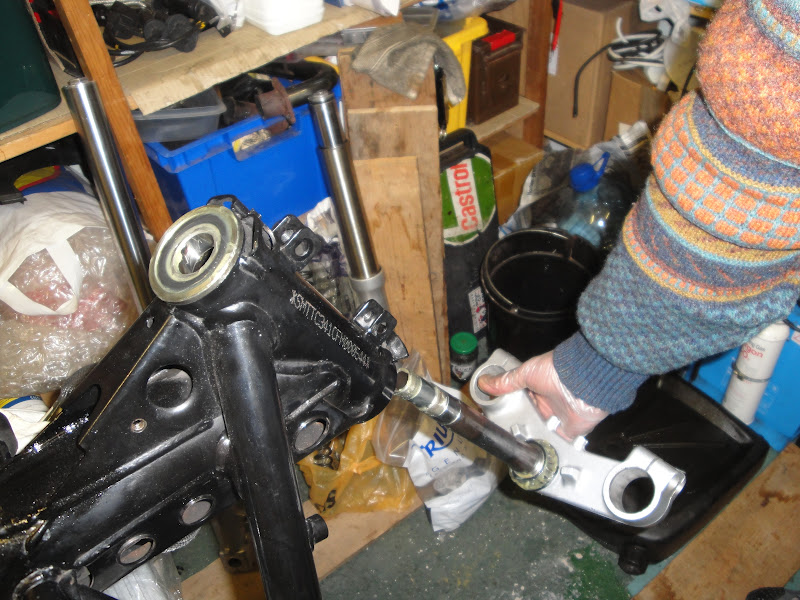
this particular diagram and parts list does not include headstock bearings. How mad is that? Fortunately, as the pics below show, I don't need to replace mine anyway.
Dismantling front wheel, forks and the steering head (yokes and bearings) was really straightforward - no explosions involved. I supported the bike with a plank under the sump, resting on bricks so the front wheel was just clear of the ground. There were no stuck or rounded bolts to deal with, and no obvious corrosion - at least, not at first.
The steering head is supported by taper roller bearings. The top bearing (marked Koyo 32005JR) drops onto its tapered seat and is clamped in place by a threaded collar.
 |
Bottom steering head bearing
before waxy old grease
was cleaned out ... |
 |
... and again after cleaning.
Mucky residue visible in the pan. |
The bottom bearing is an interference fit on the steering stem, flush with the bottom yoke. Both were greased but it had a waxy consistency - probably as old as the bike. 22 years old, that is: the underside of the bottom yoke is marked 20th of December 1990. So I flushed it out with a paraffin in my trusty stainless pan and a toothbrush.
The steering stem has a strange rectangular slot at its midpoint. I've no idea what this is for. My best guess is that it is something to do with the manufacturing process, maybe for clamping for insertion into the bottom yoke.
I filled the cleaned bearings with grease by wiping fresh grease onto the outer surface of the rollers, spinning the bearing to carry some of the grease inside, then wiping on some more and repeating the process until the rollers were all rotating out in a properly lubricated condition. The same technique works equally well for top and bottom bearings, it's just a bit more cumbersome with the bottom one.
The top bearing just drops into its tapered seat in the top of the steering head. The seat was in great condition. Hooray! The bottom seat was also in fab condition. There is a rubber dust seal beneath the bottom bearing - it did a good job of keeping the grease in place so that's probably why. The steering stem passes through the steering head and top bearing, and is then retained in place by a threaded aluminium collar.
The collar on these early bikes is intended to be turned by hand to a point where vertical movement in the bearings is just eliminated, and no more. It is a judgement, this, made complicated by the stickiness of the grease. After two or three tightenings and slackening off, I was happy with the level of tension I'd put into them and the left-to-right movement of the steering action. So I lightly torqued up the M6 pinch bolt to the specified level.
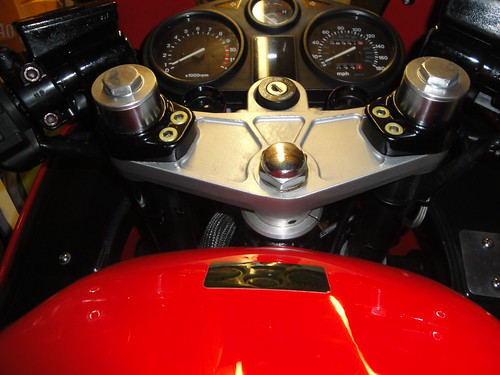
The top yoke holds the ignition switch/lock assembly. It is bolted in place with security bolts so cannot be removed without awkward drilling. Consequently, the top yoke has to be installed twisted about 80 degrees from straight ahead so the lock misses the frame bracket with which it will later engage. It fooled me at first. The top yoke is ultimately torqued up when the forks and wheels are installed and checked for alignment.
Next step, strip clean and inspect the forks.